Your roof is one of the most important parts of your home, yet it’s often overlooked when it comes to maintenance. And while you may not think about it often, your roof can quickly become dirty and covered in debris, causing it to deteriorate over time. But fear not – cleaning your roof doesn’t have to be a daunting task. With the right tools and techniques, you can keep your roof in good condition for years to come. In this article, we’ll go through step-by-step instructions on how to clean your roof thoroughly and safely.

Step 1: Prepare the Area
Before you start cleaning your roof, it’s essential to prepare the area around it. Firstly, ensure that you have all the necessary equipment, such as a sturdy ladder, safety harness, and the right cleaning materials. Then, clear any obstacles from around your roof that may be damaged by a falling ladder or tools, such as lawn furniture or vehicles. It’s also important to cover any outdoor plants or shrubs near the roof with plastic sheeting to protect them from damage.
Step 2: Remove Debris
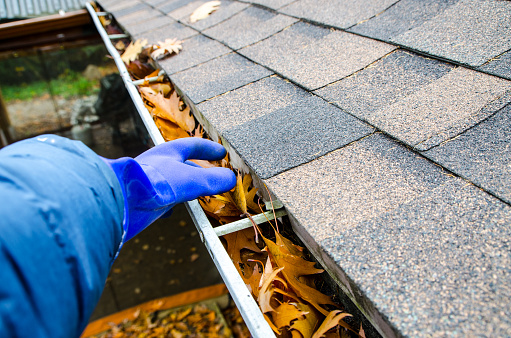
The next step is to remove any debris from your roof, such as branches, leaves, or twigs. You can use a roof rake or a leaf blower to do this. Be sure to start at the top of your roof, working your way down, and avoid pushing debris over the edge of the roof, as it may fall onto someone or something below.
Step 3: Apply the Cleaning Solution
Once you’ve cleared away the debris from your roof, it’s time to apply the cleaning solution. The best cleaning solution for your roof depends on the type of roof you have. For example, if you have a metal roof, you’ll need a cleaner that’s safe for metal surfaces. If you’re unsure, contact a roofing professional for advice. To apply the cleaning solution, fill a garden sprayer with the solution and spray it on your roof.
Step 4: Scrub Your Roof
After you’ve applied the cleaning solution, you’ll need to scrub your roof to remove any dirt or grime. Use a long-handled soft-bristled brush or broom to do this, and work in small sections. Avoid using a high-pressure power washer, as this can damage your roofing material. After scrubbing, rinse the section you just cleaned with clean water before moving on to the next section.
Step 5: Rinse and Inspect
Once you’ve finished scrubbing your entire roof, it’s time to give it a final rinse with clean water. Use a garden hose on low pressure to rinse your roof, starting from the top and working your way down. After rinsing, inspect your roof for any signs of damage or wear and tear. If you notice any issues, contact a roofing professional for repairs.
Professional Collingwood Roof Cleaning
If you’re ever in doubt, don’t be afraid to contact a professional to make sure the job gets done right. Safety is the most important factor, and if you’re not confident in your ability to do it safely, it’s best left to the pros. A clean roof not only looks better but it can also extend the life of your roof, saving you money in the long run. So what are you waiting for? Grab your cleaning supplies and get started today!

